



Why preparation decides exterior lifespan in Auckland

In Auckland’s humid climate, exterior paint fails from the substrate outward: mould and salt on the surface, chalk that kills adhesion, soft timber that moves, and moisture trapped behind tight new films.
Colour is the last 20% of the job. Preparation is the rest—whether or not it appears as a glamorous line on a quote.
Washing and biological treatment

Soft washing and controlled pressure remove dirt, salt film, algae and loose chalk. Over-blasting weatherboards drives water into end grain and can scar timber; under-washing leaves a contaminated surface that new paint cannot grip.
Shaded south walls and tree-adjacent elevations often need biological treatment with proper dwell time before rinsing.
Harbour and gulf-facing homes collect salt that looks like harmless dust. If it is not washed off, coatings can blister early on windward sides.
Scrape, sand and edge sound coatings

Failed paint should be removed to a firm edge. Feathering reduces telegraphing of old ridges through new coats. Bare timber, especially end grain and lower weatherboard edges, needs more than a wipe with a cloth.
Lead-era coatings on older villas require safe work methods—another reason professional handling matters on pre-1980s stock.
Repairs before primers

- Replace or splice soft weatherboards rather than painting over rot.
- Re-putty and sand joinery that has opened with sun and rain cycles.
- Treat rust on metal flashings and railings before finish coats.
- Seal obvious gaps that channel water behind cladding where appropriate to the building detail.
- Address mouldy skirt areas after the moisture source is understood.
Painting over active leaks or chronic damp only hides the symptom. Prep cannot substitute for weathertightness repairs.
Primers and sealers that match the substrate
Bare timber, tannin-rich species, powdery residual coatings, masonry and previously oil-based systems each need compatible primers. Skipping primer to “save a coat” is a classic short-lived exterior.
- Spot-prime repairs and bare timber before full finish systems.
- Use mould-resistant systems where elevation history shows regrowth.
- Follow recoat windows—Auckland humidity can slow dry times.
A practical exterior prep sequence

- Inspect elevations in good light; note failures and moisture clues.
- Protect gardens, paths, aluminium joinery and neighbouring property.
- Treat growth; wash and rinse; allow adequate dry time.
- Scrape and sand failed coatings; repair timber and flashings.
- Prime bare and problem areas; then apply finish coats by elevation plan.
- Detail edges, undersides of boards and high-wear zones.
- Dry substrate before coating—not just a sunny hour at midday.
- Written list of repairs included or excluded.
- Product system named for cladding type.
- Plan for rain delays without rushing second coats.
What homeowners can do before the crew arrives
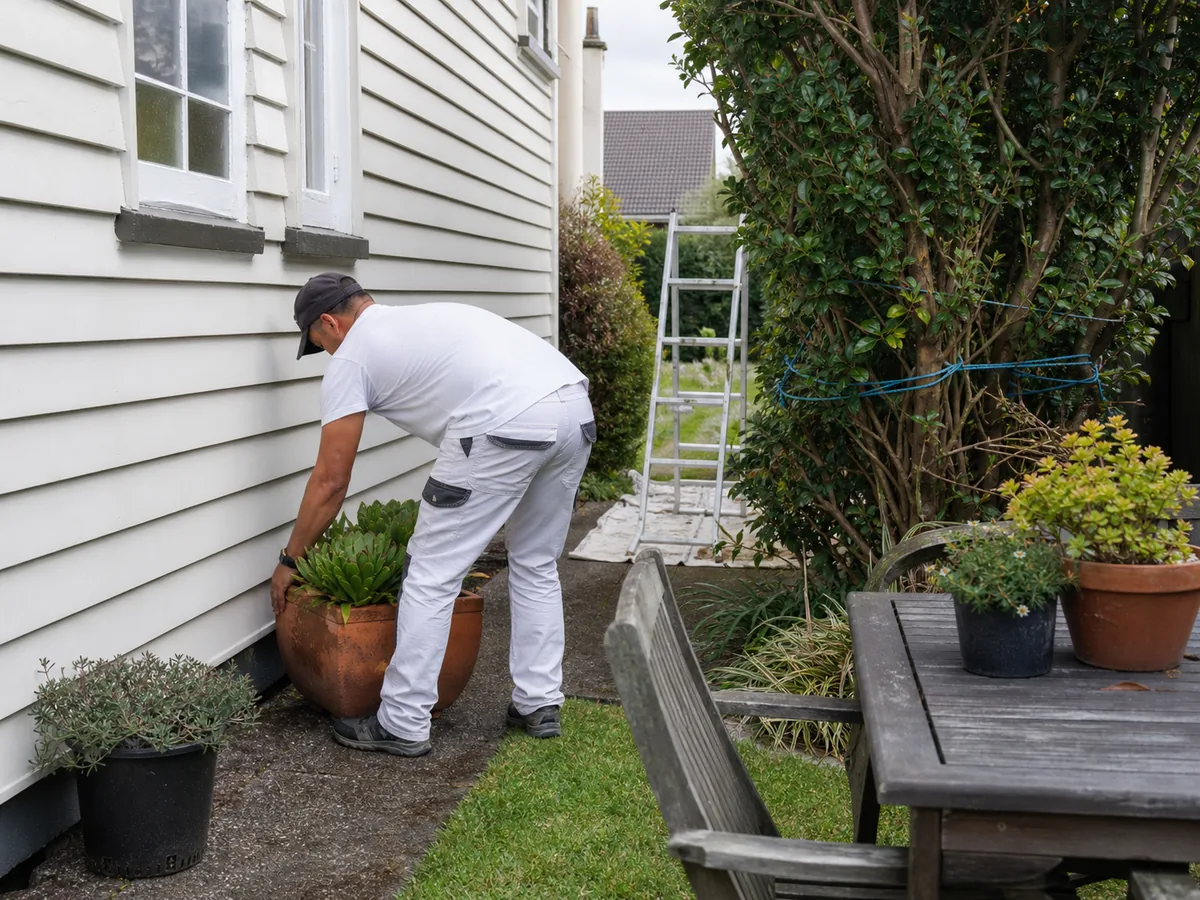
Clear access along walls, unlock side gates, move cars, trim back aggressive shrubs where safe, and secure pets. Point out known leak history and previous DIY coats. That context changes how thoroughly a good team inspects.
Prep mistakes that show up within a year

- Painting over chalk without washing.
- Ignoring lower weatherboard edges and ground splash zones.
- One thin finish coat over mixed old systems.
- No primer on bare repairs.
- Working around rain by coating damp timber late in the day.
Next steps for exterior prep
If your exterior is dull, peeling or patchy after a short life, ask for a prep-first inspection—not only a colour refresh. Read the weatherboard mistakes guide and the best-time-of-year article, then book a site visit for a fixed exterior scope.
Weatherboard laps, ends and ground clearances

Laps trap dirt and moisture. Undersides and lower courses near gardens are classic early-failure zones. Prep should include attention here even when street-level boards look acceptable.
Where boards sit too close to soil or deck membranes, discuss detailing with someone who understands water management—not only paint brand loyalty.
- Brush out laps before coating where accessible.
- Treat end grain at cuts and terminations.
- Do not bury fresh paint against wet soil splash without addressing grade.
Masonry, roughcast and mixed claddings

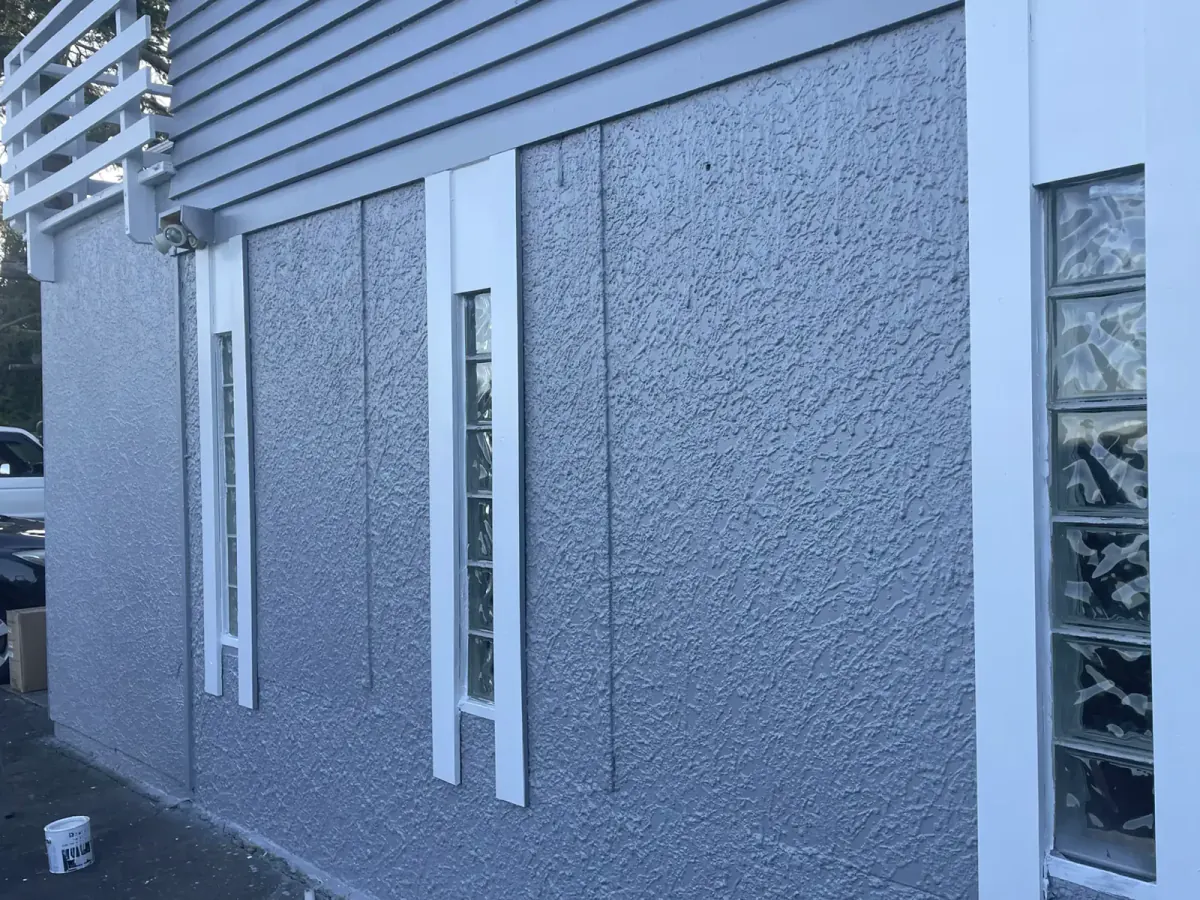
Many Auckland homes mix weatherboards with masonry or fibre-cement. Each needs compatible prep: different porosity, different crack behaviour, different primers. A single product dragged across everything is a warning sign.
Hairline cracks in masonry may need elastomeric strategies or acceptance of cosmetic limits—discuss before colour day.
A realistic multi-day prep narrative
Day one often belongs to protection and wash: plants covered as needed, windows spotted carefully, biological treatment applied, rinsing completed. Boards may look darker and cleaner—but not paint-ready until dry. Overnight moisture can reset the clock on shaded walls.
Day two frequently covers scrape, sand and repairs. This is the unglamorous phase owners undervalue. Skipping it to “get colour on for the weekend” is how peels start at edges by the next spring.
Priming may begin only when bare timber and patches are sound. Finish coats then follow elevation plans that chase the sun and wind. Understanding this rhythm helps you interpret why a proper exterior is not a one-day miracle.
- Protect and wash.
- Dry and reassess.
- Repair and prime.
- Finish by elevation.
- Detail and tidy.
Simple moisture and readiness checks owners can understand

Painters use experience and, where needed, meters; owners can still learn the basics. Cool, dark boards in shade after a clear morning are often still wet inside the surface film. If wash water has not fully left end grain and laps, primers can trap moisture and blister later.
Ask the crew how they decide an elevation is ready. “The sun is out” is weaker than “south wall was washed yesterday, tested dry this morning, north wall starts after lunch.”
Auckland’s background moisture means dry times are often longer than overseas brochure photos imply. Build slack into the calendar.
Why elevations should be prepped as a plan, not a scramble

Good exterior programmes work elevation by elevation: wash, dry, repair, prime, finish—then move on—rather than washing the whole house and hoping everything stays clean and dry for a week. Dust, pollen, and new bird droppings re-contaminate surfaces; rain resets the clock on shaded sides.
On large villas, that staged plan is also how you keep occupied homes liveable: one side protected and drying while another is active.
- Map elevations and sun/shade patterns.
- Wash and treat the first elevation.
- Confirm dry and complete repairs.
- Prime and finish before opening the next dirty elevation.
- Detail edges before declaring the elevation done.
Prep failure modes you can recognise a year later

Peeling at lower weatherboard courses often traces to splash, irrigation, or skipped edge work. Mould maps returning on the same south wall often mean incomplete wash or unresolved damp. Patchy sheen can mean inconsistent film build or coating over chalk.
When you see those patterns, do not only repaint the ugly patch. Ask what system and prep will interrupt the cycle—or you will buy the same failure again.
- Edge peel → check prep and end grain sealing.
- Blistering → moisture or adhesion failure under the film.
- Early chalk → UV plus thin or aged binder; plan full system, not spot colour.
- Tape-line ridges → poor feathering of old coatings.
Think in coating systems, not brand slogans

Wash chemistry, primers, intermediate coats and finishes form a system matched to substrate and exposure. Spot-priming bare timber with a random leftover undercoat while finishing with a premium topcoat is still a weak system. Ask for the system by surface: weatherboards, metal flashings, masonry, previously oil-based areas.
Coastal elevations may need more rigorous clean-down and shorter maintenance advice. Shaded south walls may need biological treatment with real dwell time. Mixed claddings on one house need multiple compatible approaches—not one product dragged across everything.
Owners can help by redirecting irrigation off boards, clearing access, and not demanding colour coats on damp late afternoons. Preparation quality is a partnership; the crew cannot outrun a sprinkler that rewets the lower course every evening.
If budget is tight, reduce colour drama or stage elevations—do not delete wash, repairs and primers. Those lines are where durability lives.
Need a prep-first site visit?
Tomar Contracting inspects Auckland homes and commercial spaces, then provides a fixed written scope—not a photo guess. Call 0800 TOMAR C (866 272) or use the form below.